Another Zenith 1000D re-cap and cabinet
Another Zenith 1000D re-cap and cabinet
Wow, can't believe how long it has been since I logged on and posted. Well, going to rectify (pun intended) that now that I am retired as of Jan 1st, 2023 (ex B787 pilot)
geoff
About 10 years ago I purchased this Zenith 1000D at a thrift store, not working, for $10. Took it home, tested it with an appropriate power supply (no battery container) and the the AM volume was extremely low. Anticipated a recapping, put it on a shelf and then into a large plastic container in the garage.
Removed it from the container last week while looking for something else which I found (later about that).
First thing I did was to remove each very accessible germanium transistor, clean their contacts, add DeOxit red to the sockets and reinsert them. Added a power supply and ‘boom’, a perfect, sensitive LW, AM and SW receiver when hooked up to an amplified loop 75ohm antenna and extremely sensitive on the telescope antenna.
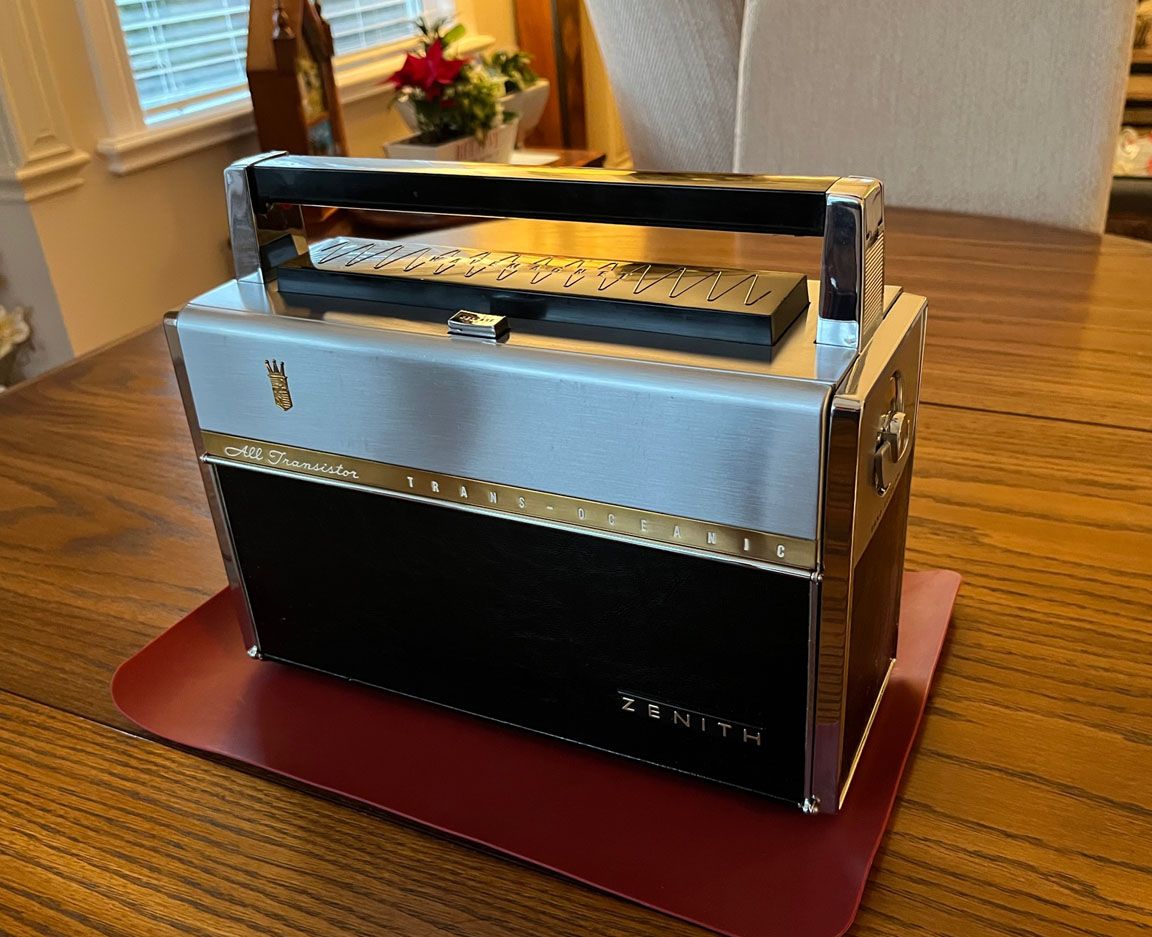
Okay, lets deal with it as it looks to be in dirty but excellent cosmetic condition.
The positives:
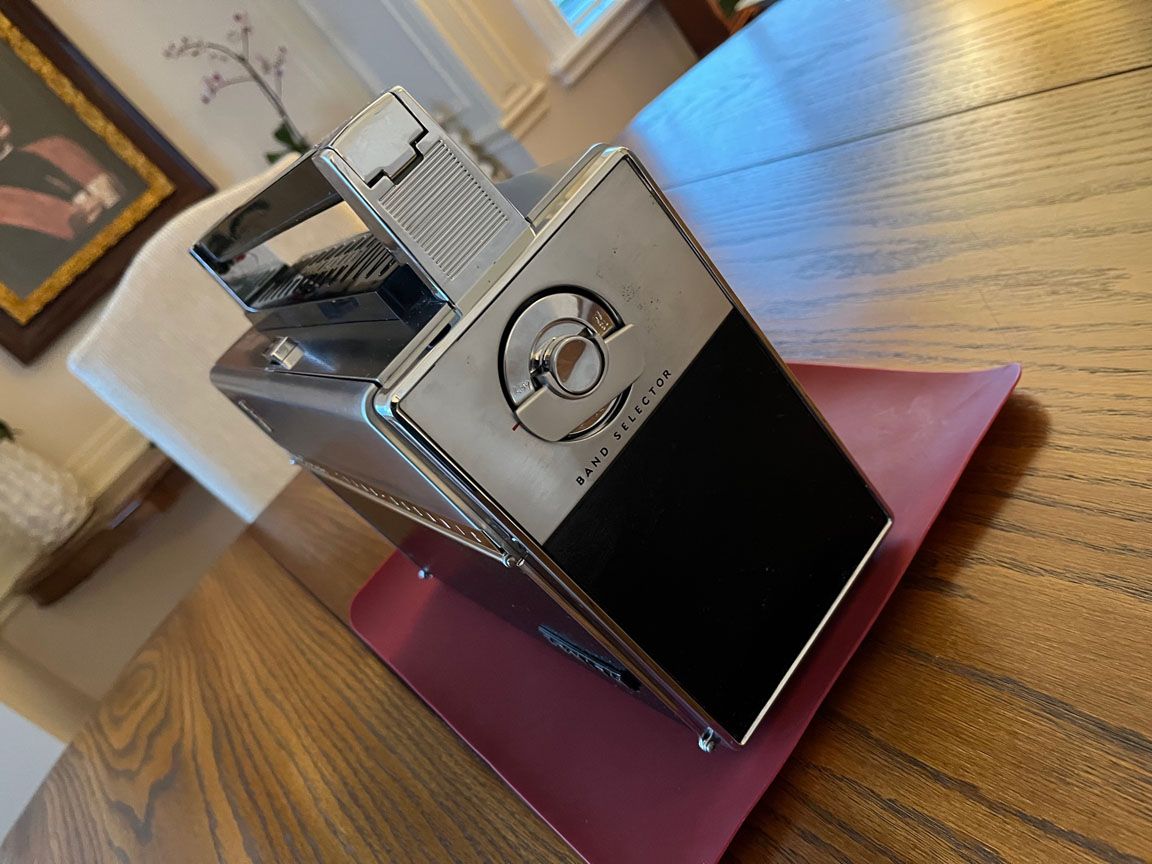
-No pitting on the chrome.
-No battery leakage,
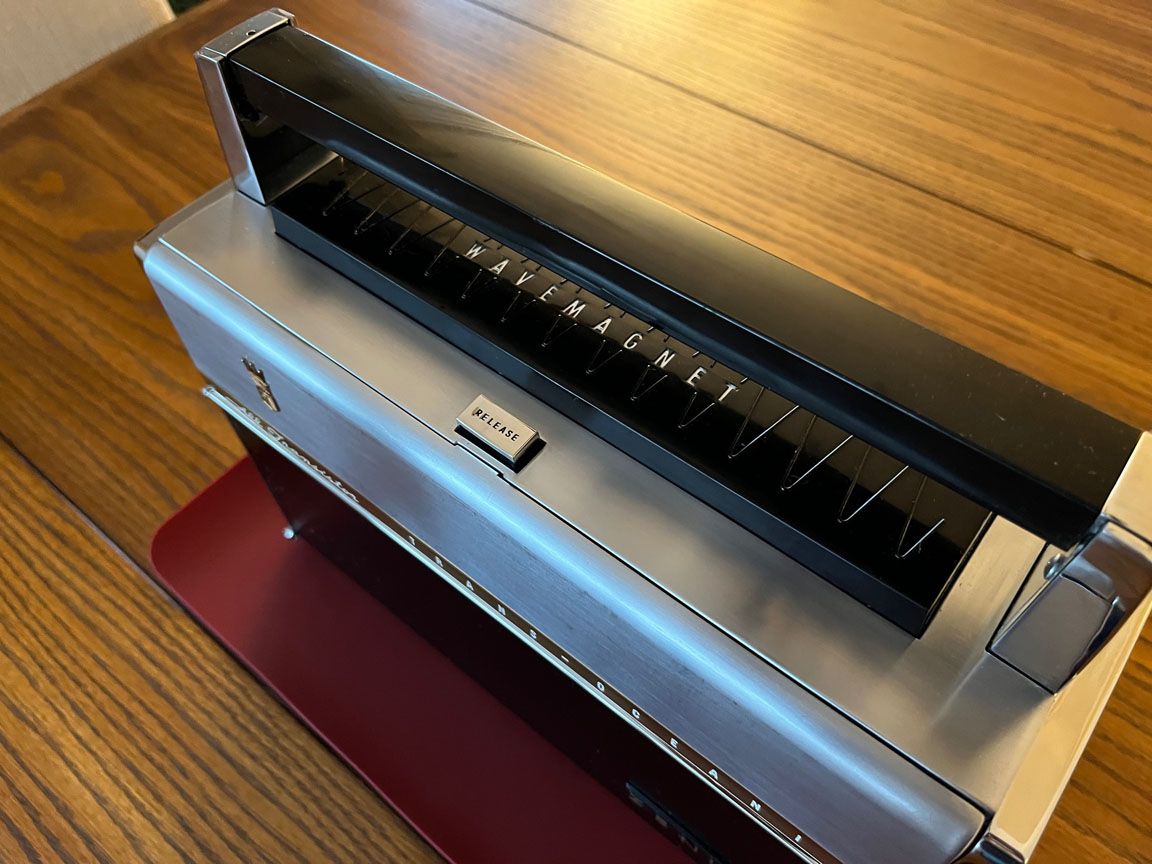
-complete with removable rod antenna,
-unbroken or cracked handle and telescopic antenna,
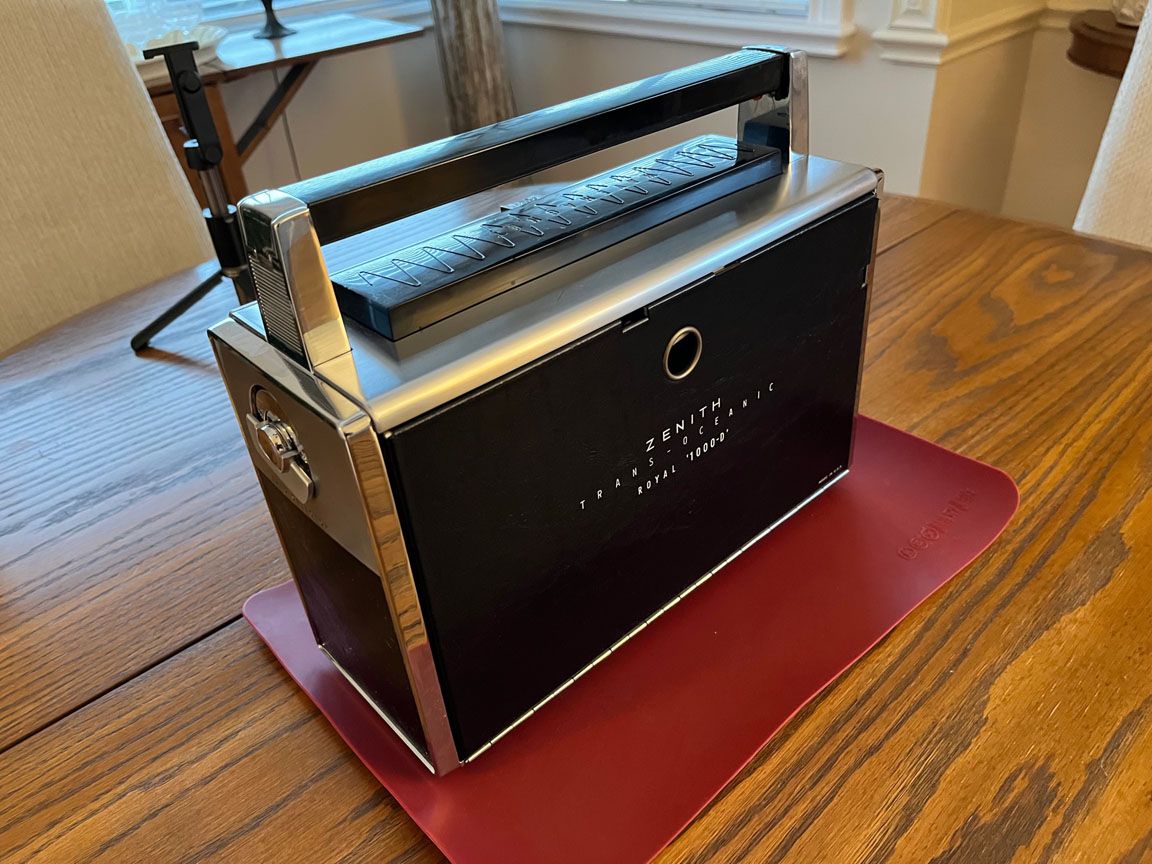
-tolex in perfect shape, no lifting, staining or holes,
-chassis from the rear view, in clean condition, no dust bunnies, spiders, critter remains etc.
-the rubber suction cups and internal antenna connector dust cover were perfectly supple with no oxidation or hardening (treated with silicon oil).
-burnt out dial light.
The negatives:
-5 old caps but; the radio was extremely responsive!
-scratchy tone and volume pots.
First start, remove the chassis, lots of videos plus the Zenith service manual made this easy. Starting with the knobs and case:
-clean the knobs ultrasonically and with a toothbrush.
-cleaned the cabinet exterior with mild detergent and vinyl protector.
-plastic polish the handle and other plastic covers.
-washed the interior with brush, soap and water (more on that later).
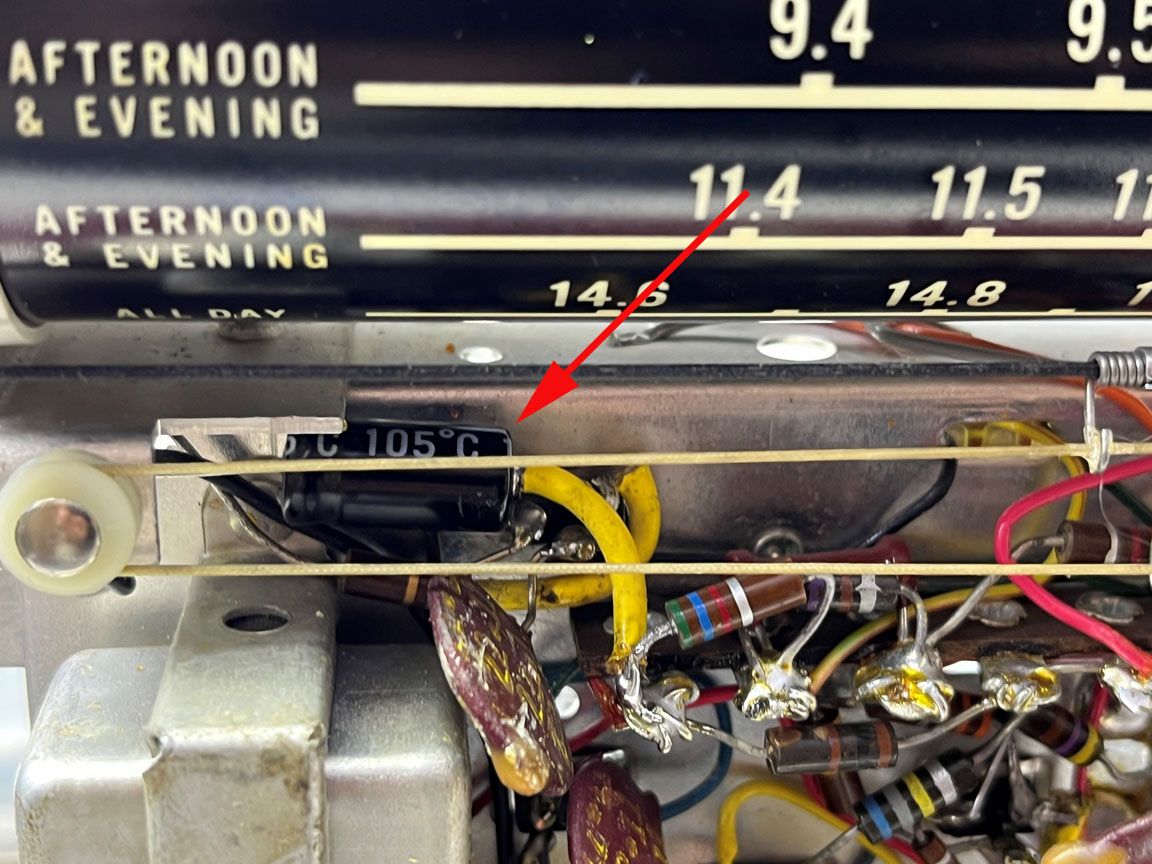
On the chassis, replaced three caps. Tested the others in place for ESR and resistance and they checked out almost to spec. Determined that removing them may create other problems as they are very buried so I took the lazy way out and left them in place until they fail outright.
The burnt out lights were replaced with screw based LED warm glow replacement bulbs. I had some spares for flashlights but had to modify the magnifying plastic lens. Filed the tips flat, and then scuffed the sides of the bulb lens (plastic) with 400 grit sandpaper to remove the spot affect from the magnifying lens. Initially I installed the LEDs without the modification which resulted in a nice glow but with two bright spots. The modification of the LEDs dispersed the light in the dial tube perfectly and result in a much lower battery drain when used.
I must say, having disassembled the chassis I HATE those friction clips with a passion. Got some off for access to the case parts but had to leave the speaker in place as removing those would entail breaking them! Why did Zenith not use nuts on those for such an expensive radio back in the day! Secured an original battery holder.
In any case, all reassembled and aligned as per the 1000D alignment instructions using my Heathkit IM18 and a signal generator.
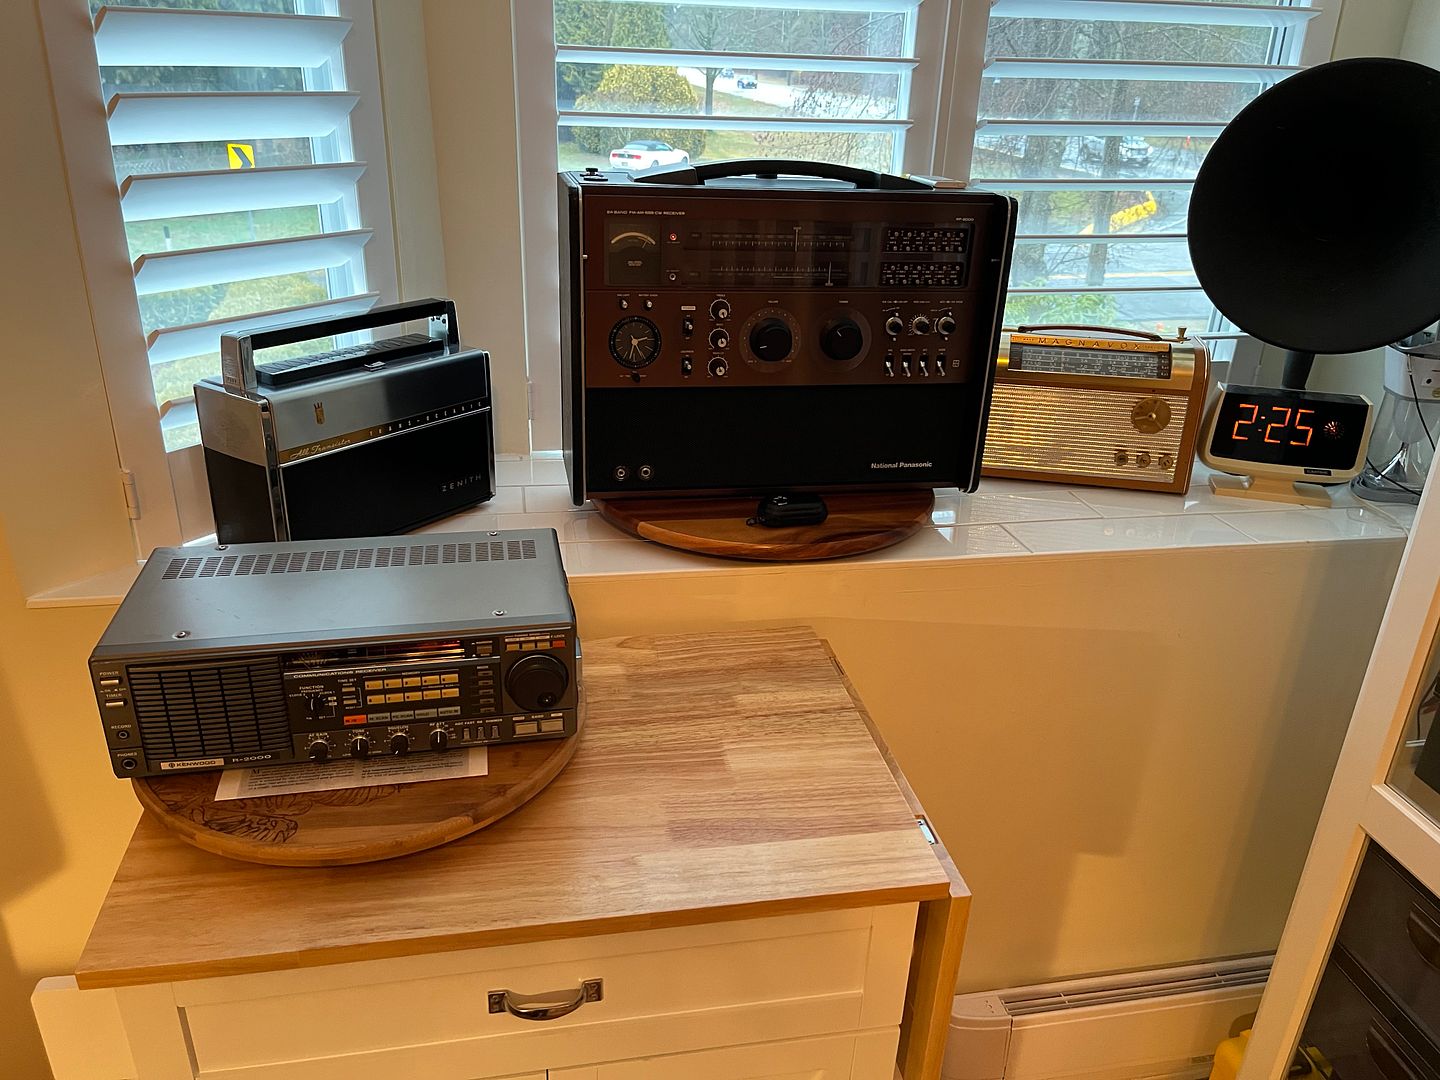
All back together and wow, sound is typical hight quality Zenith, the look is fantastic and will look good beside the Zenith transoceanic 7000.
The final product:
A group shot of some projects with the Zenith completed. The large RF-8000 has my iPod plugged in and supplying the tunes while I work.
The Lights, left to right; unmodified warm glow LED, modified warm glow LED, original incandescent:


The caps:
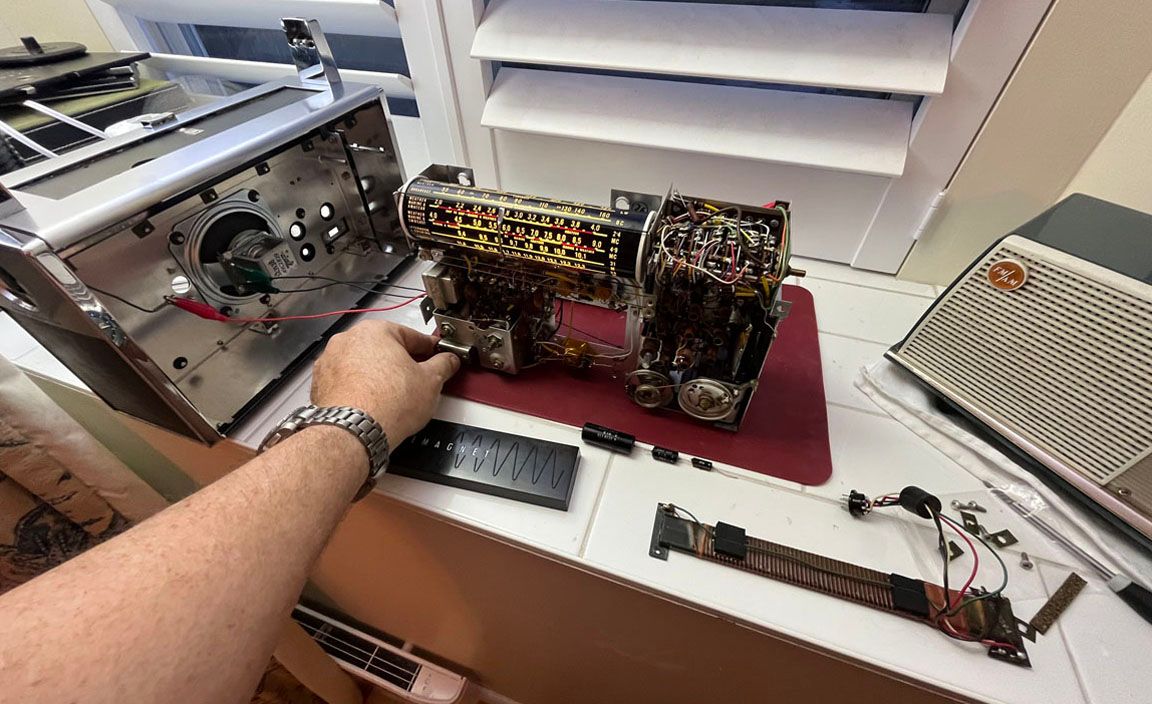
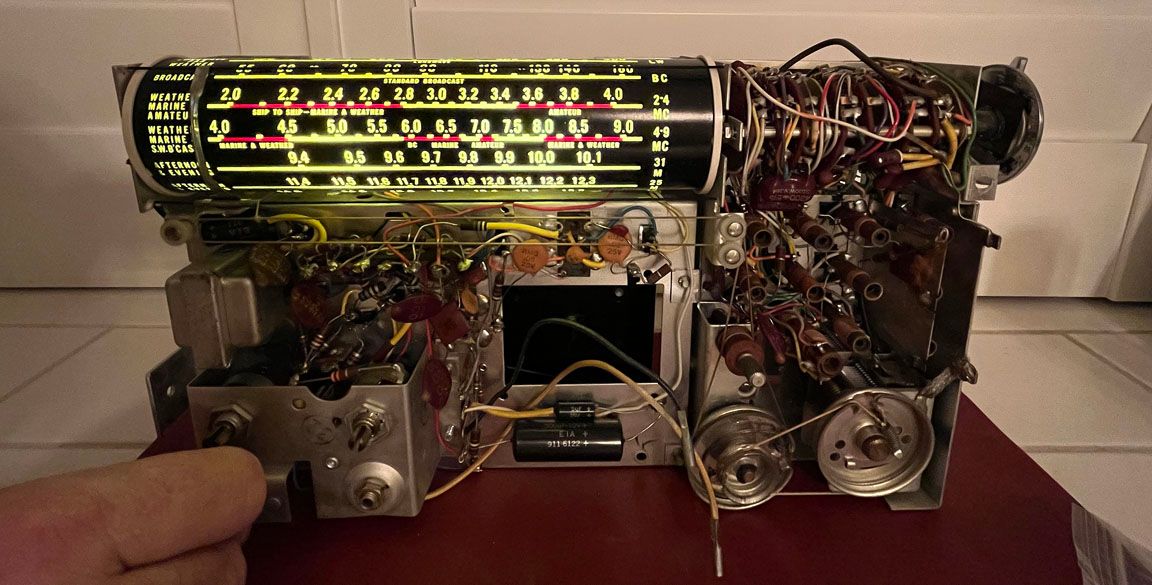
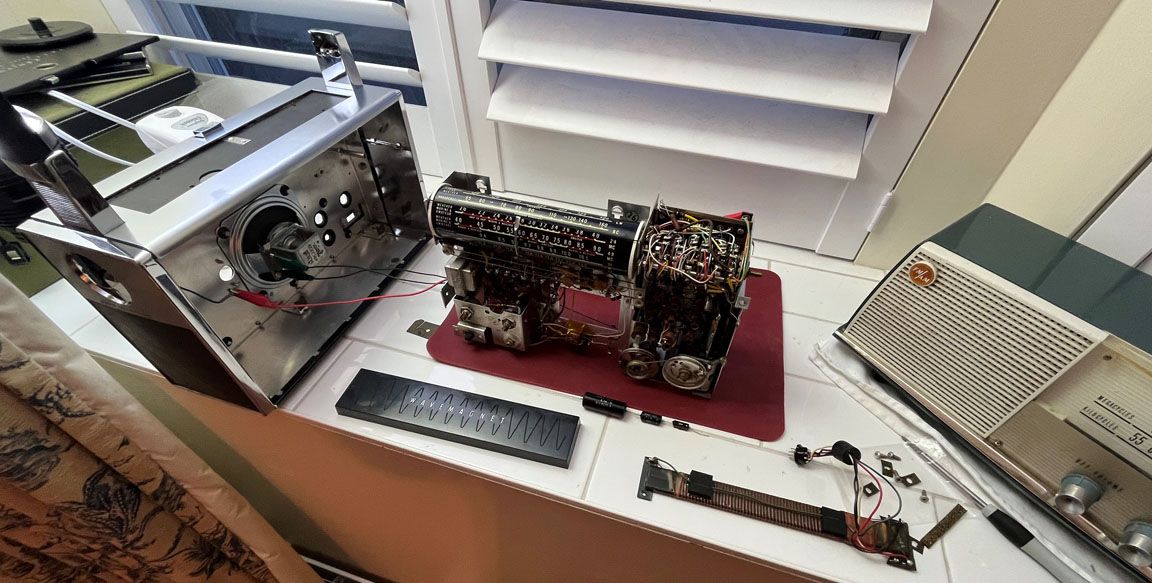
1) chassis out with parts of the case showing and the old caps removed and new caps in place:

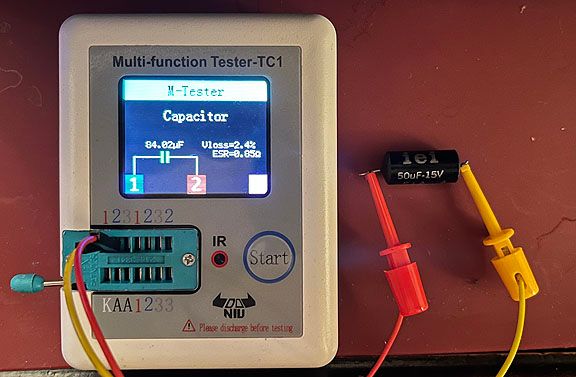
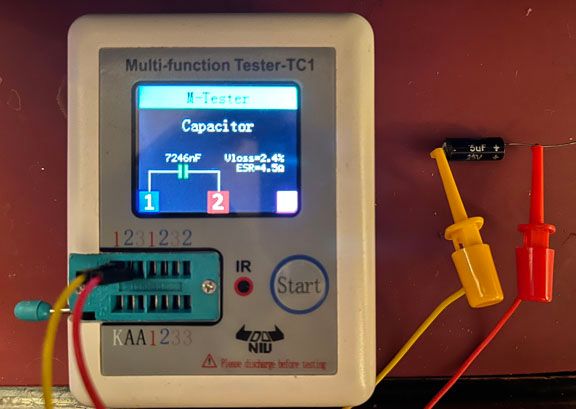
The readings of the three capacitors plus the readings on a new cap for testing reliability of the tester:
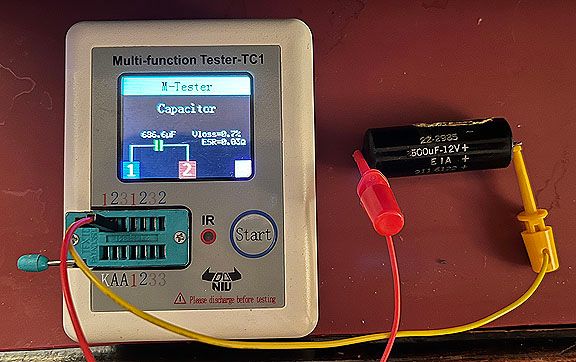
The new capacitor used to test the reliability of the tester:
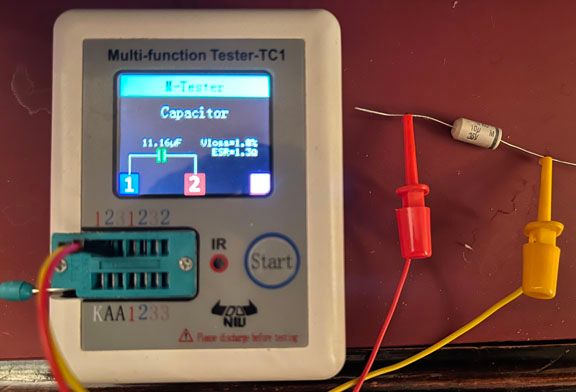
Short note on the multi-function tester. It arrived and did not work. Took it apart to find extremely bad solder connections on the green socket to the PCB. No quality control, but when the solder was reflowed I tested it on known fully functional components and it read correctly.
Any questions?
Cheers, Geoff
To thank the Author because you find the post helpful or well done.
Sticky to the right model page

Dear Geoff,
as mentioned in your other post about the Panasonic RF-8000, I was keen to join this article to the correct Zenith model 1000D, but was unable to because we show two different models. Since I did not find either a number like 9CT41Z2 or 9HT41C2 for one model or 9AT40 or 9AT41Z2 for the other, I can not yet decide and would be glad if you post it to me by using email. You can just answer in the link below called "Mail to the author".
After you found out which model it is, you would be invited to also load up your photo(s) to that model.
Cordially,
Ernest
To thank the Author because you find the post helpful or well done.
Sticky to the right model page
Hello Ernest,
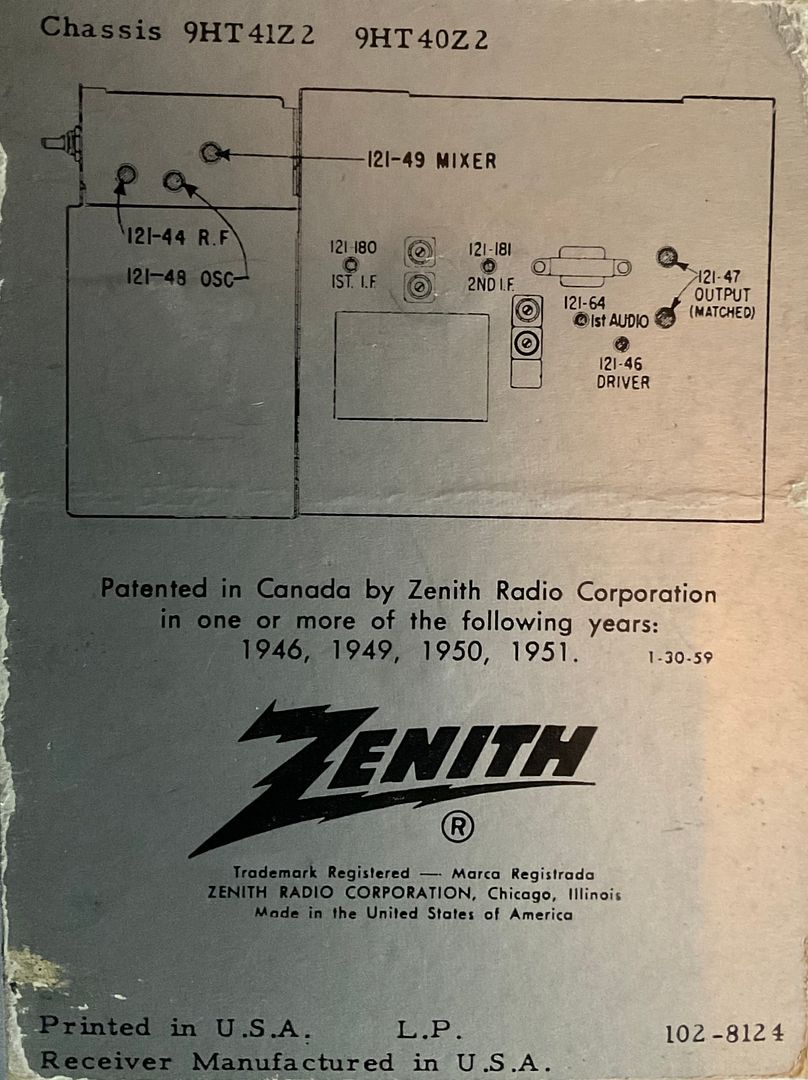
will read the posting hints and ideas! To answer your question and the chassis is a 9HT41Z2.
cheers, Geoff
ps: will post the pictures under the chassis number.
To thank the Author because you find the post helpful or well done.
Royal 1000D with chassis 9HT41Z2
Dear Geoff
Thank you for pointing out. I could not find a Zenith Royal 1000D (1000-D) with your chassis 9HT41Z2 & 9HT40Z2 in our database. We show two 1000D, one from 1958-62 with chassis 9AT40 & 9AT41Z2, the other from 1959-61, with chassis 9CT41Z2 & 9HT41C2.
Our Zenith specialist in Europe is Hans Amberger. He could create that model first - or then John Kusching in the US, who surely will also have the schematics. Can you contact them by e-mail?
To thank the Author because you find the post helpful or well done.
Royal 1000D with chassis 9HT41Z2
I will email them, and thanks for the help posting! Lots to read!!
cheers, Geoff
To thank the Author because you find the post helpful or well done.