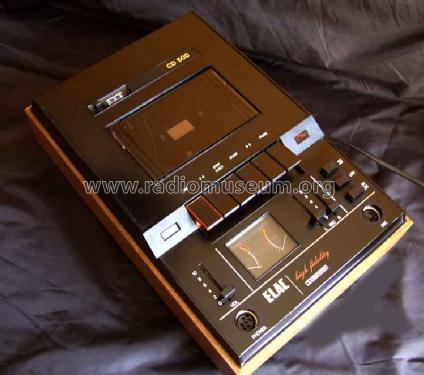
HiFi-Stereo-Recorder CD500
Elac Electroacustic GmbH; Kiel
- Country
- Germany
- Manufacturer / Brand
- Elac Electroacustic GmbH; Kiel
- Year
- 1973–1975
- Category
- Sound/Video Recorder and/or Player
- Radiomuseum.org ID
- 29156
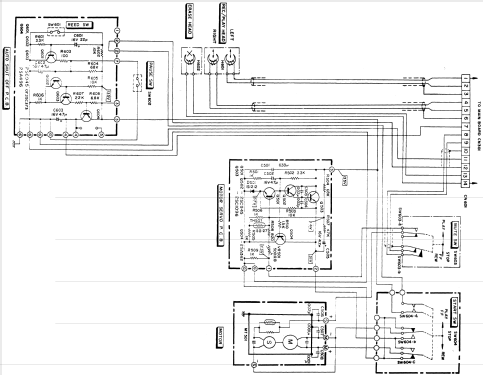
Click on the schematic thumbnail to request the schematic as a free document.
- Number of Transistors
- 42
- Semiconductors
- Main principle
- Audio-Amplification
- Wave bands
- - without
- Details
- Cassette-Recorder or -Player
- Power type and voltage
- Alternating Current supply (AC) / 220 Volt
- Loudspeaker
- - For headphones or amp.
- Material
- Wooden case
- from Radiomuseum.org
- Model: HiFi-Stereo-Recorder CD500 - Elac Electroacustic GmbH; Kiel
- Shape
- Tablemodel, with any shape - general.
- Dimensions (WHD)
- 200 x 102 x 308 mm / 7.9 x 4 x 12.1 inch
- Notes
- HiFi-Cassetten-Tonbandgerät mit Dolby System. 20 - 15.000 Hz. Automatische Band-Endabschaltung, einschaltbare automatische Pegelbegrenzung (Limiter). Automatische Umschaltung von Normal- auf Chromdioxid-Band.
Kopfhöreranschluss mit Flachbahnregler.
Gehäuseausführung Nussbaum furniert.
21 Dioden.
- Net weight (2.2 lb = 1 kg)
- 3.8 kg / 8 lb 5.9 oz (8.37 lb)
- Price in first year of sale
- 778.00 DM
- External source of data
- Erb
- Source of data
- Katalog RFP 1973 / Radiokatalog Band 2, Ernst Erb
- Other Models
-
Here you find 266 models, 244 with images and 91 with schematics for wireless sets etc. In French: TSF for Télégraphie sans fil.
All listed radios etc. from Elac Electroacustic GmbH; Kiel
Collections
The model HiFi-Stereo-Recorder is part of the collections of the following members.
Forum contributions about this model: Elac Electroacustic: HiFi-Stereo-Recorder CD500
Threads: 1 | Posts: 1
Der Leser Herr Pierau schickte uns folgende Anleitung zum Öffnen und Zerlegen des Gerätes:
So wie auf den Bildern gezeigt wird das Gerät nicht auseinander genommen,
sondern wie folgt:
- Das Gerät normal vor sich stellen.
- Regler-Knöpfe entfernen.
- Die obere Abdeckung am hinteren Ende hoch ziehen. Es ist nur geklemmt.
- Das vordere Ende mitziehen und vorsichtig nach vorn wegnehmen.
- Die 4 Schrauben am Antriebsteil und die Befestigungsschraube der Dolby Platine entfernen und die Dolby Platine nach oben herausnehmen.
- Das Antriebsteil herausnehmen und Verbindungskabel zur Hauptplatine abziehen. Jetzt liegt die Hauptplatinenoberseite frei. Die Unterseite der Hauptplatine wird zugänglich wenn die 4 Schrauben der Bodenplatte entfernt werden.
Martin Renz, 03.Oct.11


