- Pays
- Allemagne
- Fabricant / Marque
- Telefunken Deutschland (TFK), (Gesellschaft für drahtlose Telegraphie Telefunken mbH
- Année
- 1971–1973
- Catégorie
- Radio - ou tuner d'après la guerre 1939-45
- Radiomuseum.org ID
- 28363
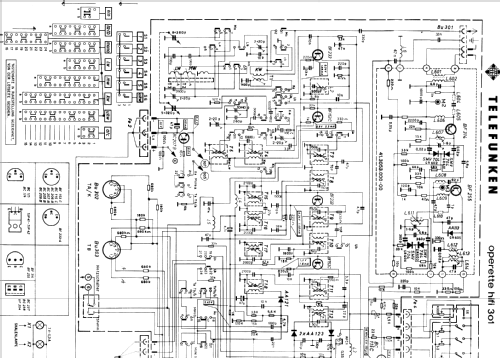
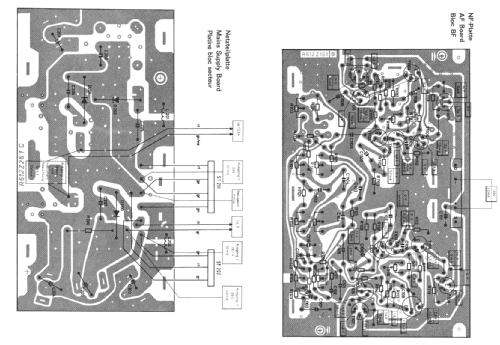
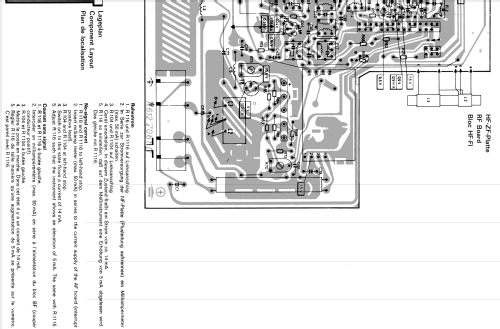
Cliquez sur la vignette du schéma pour le demander en tant que document gratuit.
- No. de transistors
- 28
- Semi-conducteurs
- Principe général
- Super hétérodyne (en général); FI/IF 460/10700 kHz
- Circuits accordés
- 6 Circuits MA (AM) 13 Circuits MF (FM)
- Gammes d'ondes
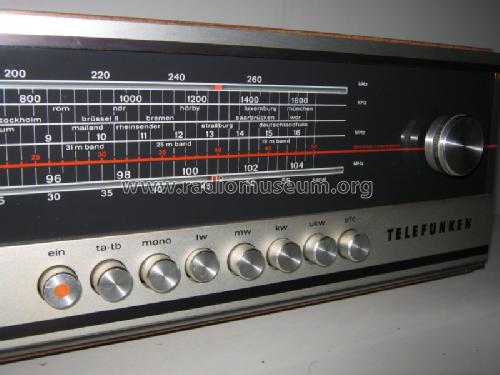
- PO, GO, OC et FM
- Tension / type courant
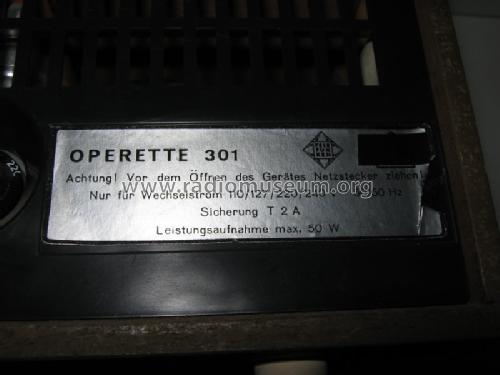
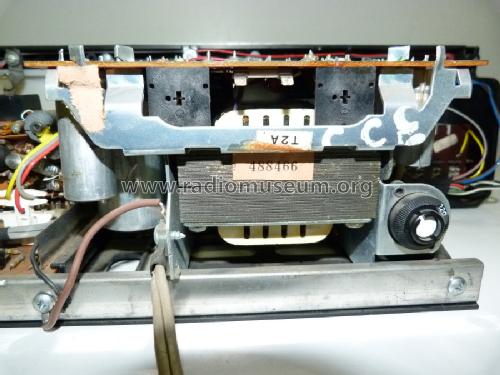
- Alimentation Courant Alternatif (CA) / 110-127; 220-240 Volt
- Haut-parleur
- - Ce modèle nécessite des HP externes
- Puissance de sortie
- 20 W (30 W max.)
- Matière
- Boitier en bois
- De Radiomuseum.org
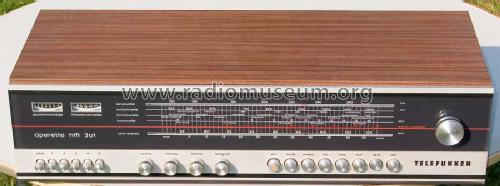
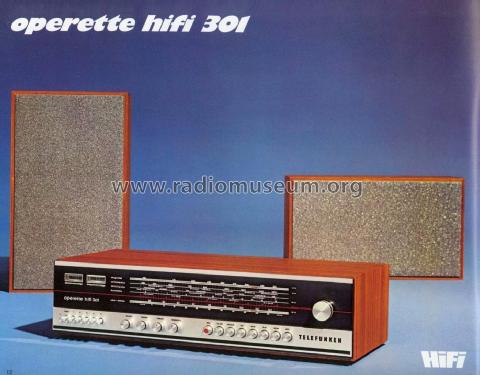
- Modèle: Operette HiFi 301 - Telefunken Deutschland TFK,
- Forme
- Appareil d'étagère
- Dimensions (LHP)
- 550 x 140 x 220 mm / 21.7 x 5.5 x 8.7 inch
- Remarques
- ICs: 1.
HiFi-Stereo-Steuergerät. NF-Verstärker mit 2 Endstufen je 10 W (Sinus).
- Poids net
- 6.3 kg / 13 lb 14 oz (13.877 lb)
- Prix de mise sur le marché
- 398.00 DM
- Source extérieure
- Erb
- Source
- Handbuch VDRG 1971/1972
- Schémathèque (1)
- -- Schematic
- D'autres Modèles
-
Vous pourrez trouver sous ce lien 3582 modèles d'appareils, 3169 avec des images et 2126 avec des schémas.
Tous les appareils de Telefunken Deutschland (TFK), (Gesellschaft für drahtlose Telegraphie Telefunken mbH
Collections
Le modèle Operette HiFi fait partie des collections des membres suivants.
Contributions du forum pour ce modèle: Telefunken: Operette HiFi 301
Discussions: 1 | Publications: 1
Dear radiofriends
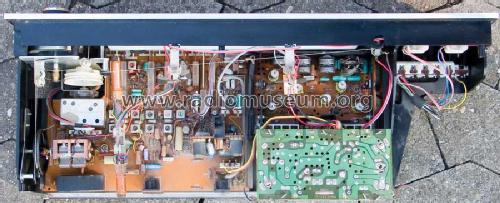
I needed to replace the cord to this radio using the complex diagram and without any instructions that Telefunken has elaborated (d_tfk_operette_hifi301_seil.pdf).
The best most practical process I got was this:
-
In the first step is to get a cord with about 2,5 meters, there will be a bit of cord left, but it is better to spare than after the end of work is missing.
-
The AM variable capacitor is opened, ie at the highest frequency (1600 KHz), and the drum that drives the FM coil and thus to secure the coil core at the highest frequency (104 MHz).
-
Fix one of the ends of the cord with the recommended length on the drum (black) of the variable capacitor AM, in the hole of the knot, keeping the variable always in the same position, wrap the cord with three turn counterclockwise.
-
After passing by the metal roller below, which in turn, the cord will pass through the tuning shaft, in the lower rail giving two turns of cord clockwise.
-
Stretch the cord by following the arrows as shown in figure 1, until the cord enters the drum (white) of FM, wind the cord in the lower rail clockwise with three turns, and the fourth turn will be given in the upper rail of the same FM drum, and through a groove the drum has, passing the cord through the groove continuing to wind in the same direction only one turn of cord then passing the cord through the tuning shaft, in the upper rail giving two turns of cord counter clockwise.
-
Then pass the cord through the plastic roller (with small springs inside), going around it, following the arrows with the cord passing through the small roller of black plastic.
-
Wind the cord through the bottom (clockwise) on the AM drum until it locks into the spring shown in figure 1.
So the cord assembly is finished, with this small contribution I hope to have helped those who in the future encounter the same problem as me.
P.S.
If a member has factory instructions or has found an easier process than mine, I suggested that they put it here because it would help many radiofriends.
Best Regards
Júlio Branco, from Portugal
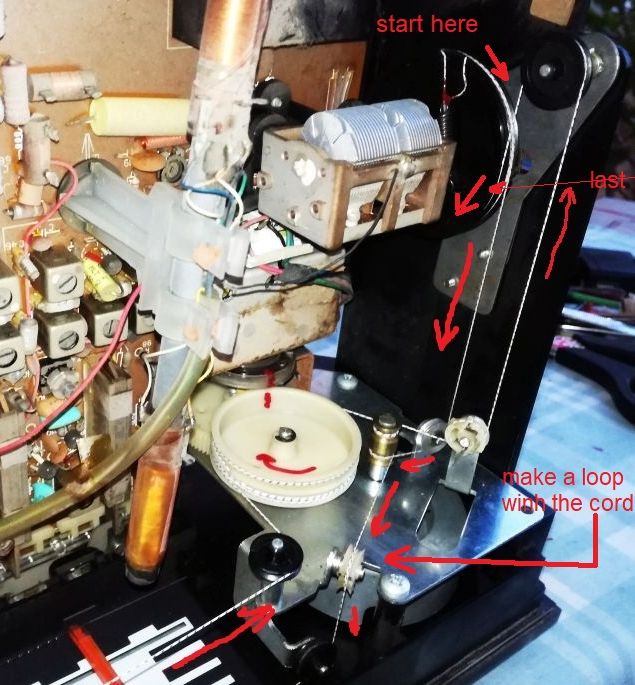
Fig.1

Júlio Branco, 30.Aug.18
